An in-depth analysis of Tesla's battery management system
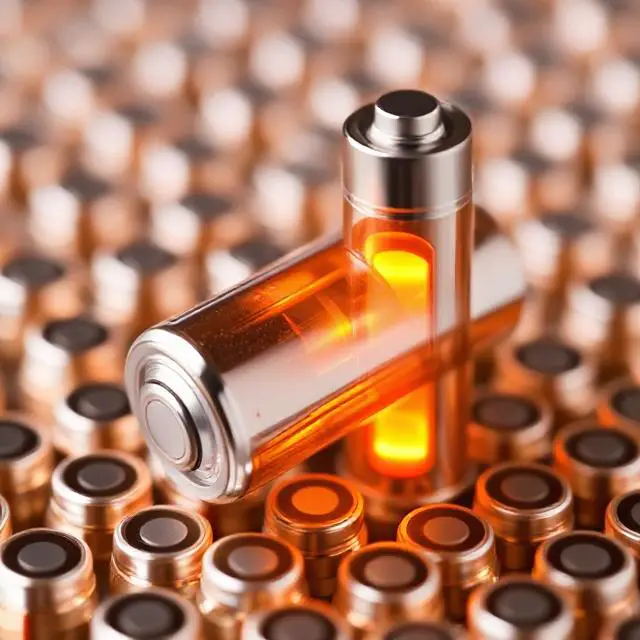
EV battery
How to repair a damaged Ni-MH battery?
by:Vglory
2021-04-16
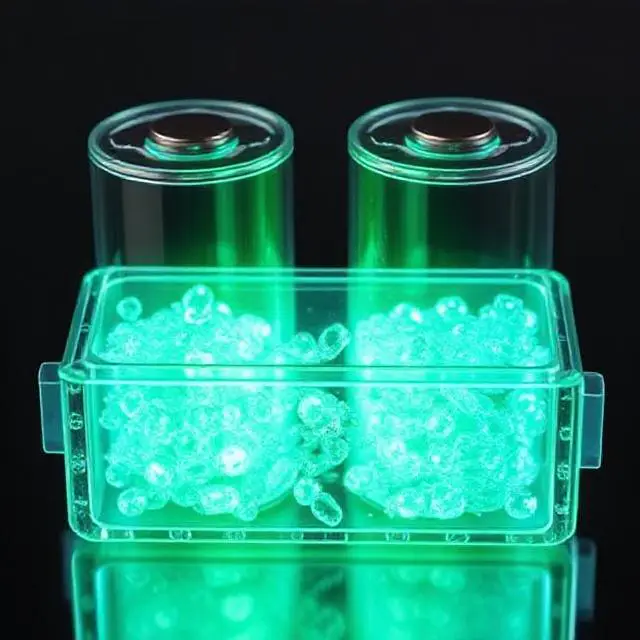
How to repair a damaged Ni-MH battery? After a certain number of cycles of use, Ni-MH batteries will be scrapped when the capacity and internal resistance are exhausted to be unusable. However, in most cases, Ni-MH batteries cannot reach the end of their service life. Due to the self-discharge of Ni-MH batteries, many times Ni-MH batteries are damaged due to excessive storage time. Now we will introduce the repair process of Ni-MH batteries; the specific steps of Ni-MH battery repair: First step: Remove the outer packaging of the Ni-MH battery, and then discharge the battery completely , Use a 1 ohm resistor to short-circuit the battery and place the battery to 0V. This process takes about 5-10 hours. This can prevent the battery from being short-circuited and burned out accidentally after adding water, and it can also reduce the electrochemical corrosion when immersed in water. Step 2: Open the safety valve, use a piece of thin iron wire to bend into a U shape, and then insert about 2 mm from the bottom of the rubber cap to the center. In this way, the safety valve is forced to open, and it is bent into a U-shape in order not to damage the rubber cap. Step 3: Use freshly boiled water to scald the battery, and wait until the positive electrode no longer bubbles, (but remember not to boil the battery, but to boil the water and burn it.) Immediately put it in cool (room temperature) pure water In the inner bottle, wait for about 1 minute. At this time, part of the water has been inhaled. Immediately tighten the cap and squeeze the bottle for about 10 seconds to make more water enter the battery: Step 4: Take out the battery, wipe it dry, and pull it out U-shaped iron wire, sheathed. It is best to use a large Phillips screwdriver and a small hammer to dent the center of the positive electrode cap slightly to increase the sealing degree of the safety valve. It is enough to dent 0.5 mm. If you smash too much, dangerous situations may occur. Step 5: After standing for 5 hours, start charging and discharging repeatedly 3-5 times. For the first charge, use fast charge for about half an hour, then use slow charge to charge the terminal voltage above 1.45V (it takes a long time), and then use a medium-speed or slow-speed charger. Part 6: Re-determining the capacity. Here is to be fully charged and left for 5 hours, then use the'ZB210 multi-function battery capacity tester' to discharge at 1A cross-current to the end, and then mark the capacity (accurate to 10mAh, rounded) on the battery with a paint pen. After completing the above steps, do you feel that the battery also has a feeling of resurrection? Disclaimer: Some pictures and content of articles published on this site are from the Internet. If there is any infringement, please contact to delete.
Custom message
Related Products

![[Industry Solution] How does outdoor backup power supply cope with extreme climate? Practical analysis of lithium solar cells](https://img80003422.weyesimg.com/uploads/vglorylibattery.com/images/17502322689034.jpg?imageView2/2/w/1920/q/70/format/webp)