Can today's electric cars charge quickly , Will fast charging affect the battery
EV battery
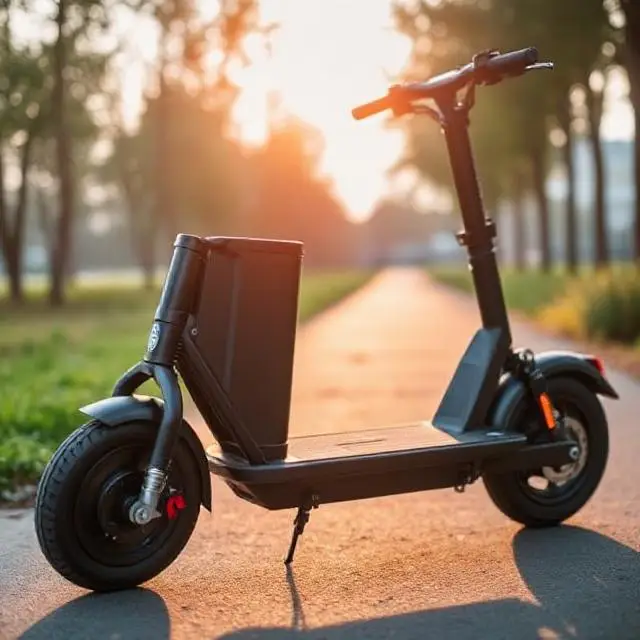
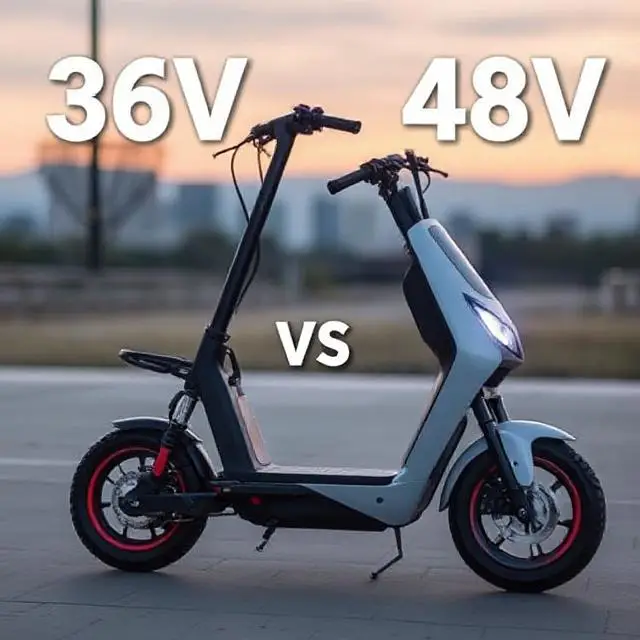
Detailed tutorials on assembling lithium-ion batteries and lithium iron phosphate 48V battery components by yourself
by:Vglory
2021-05-08
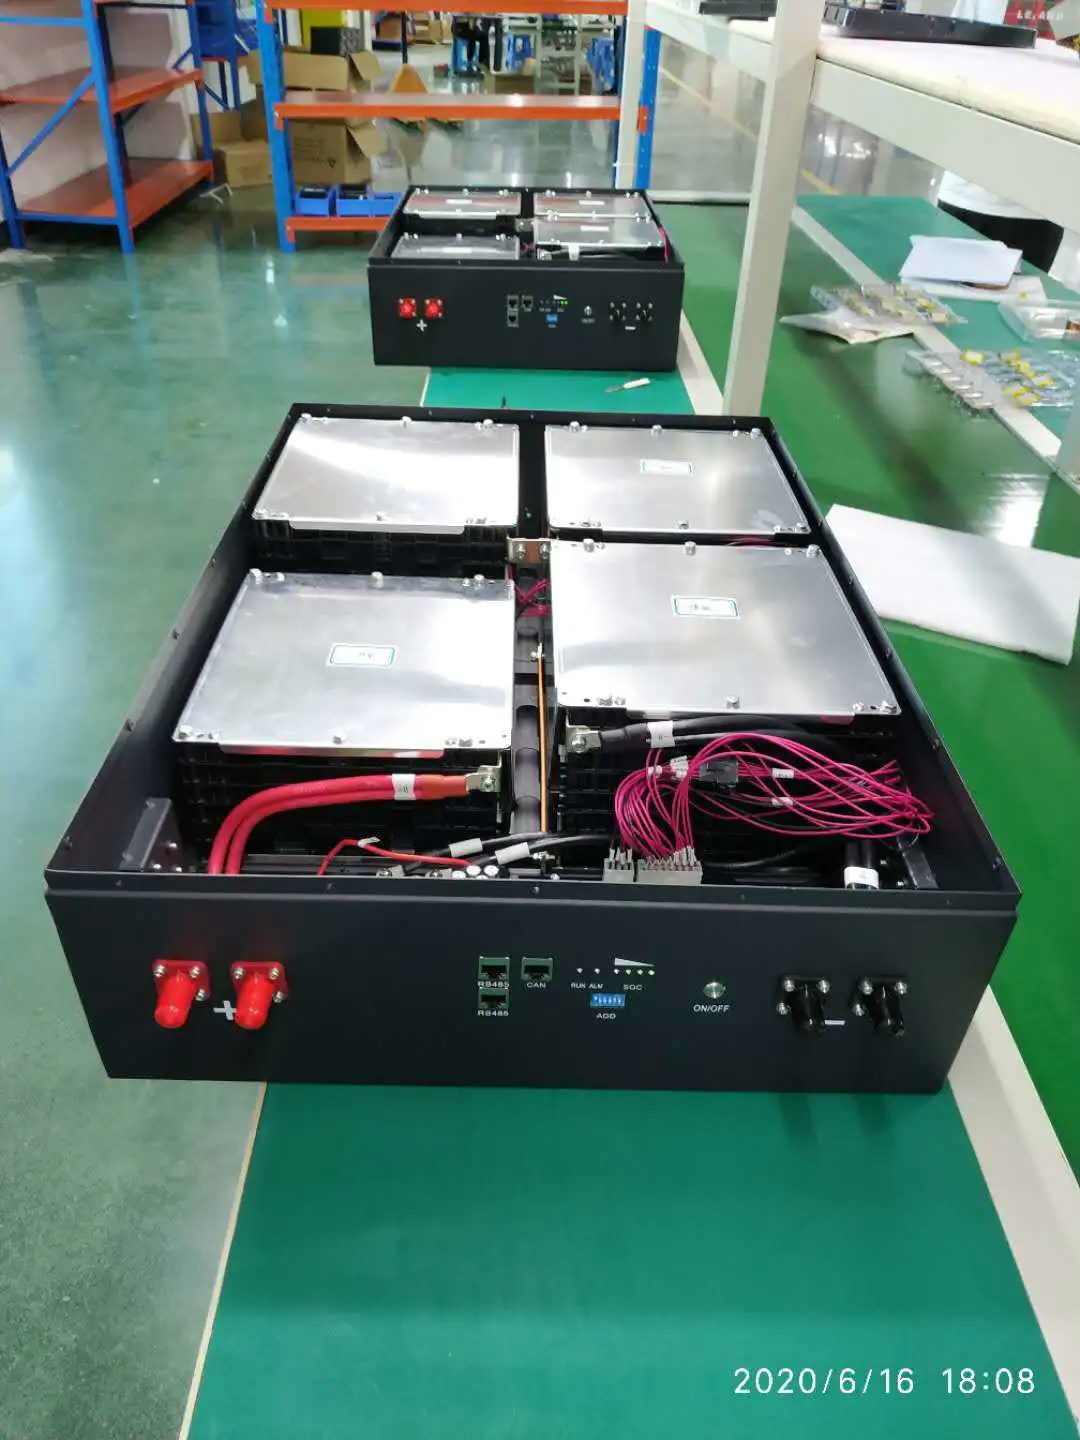
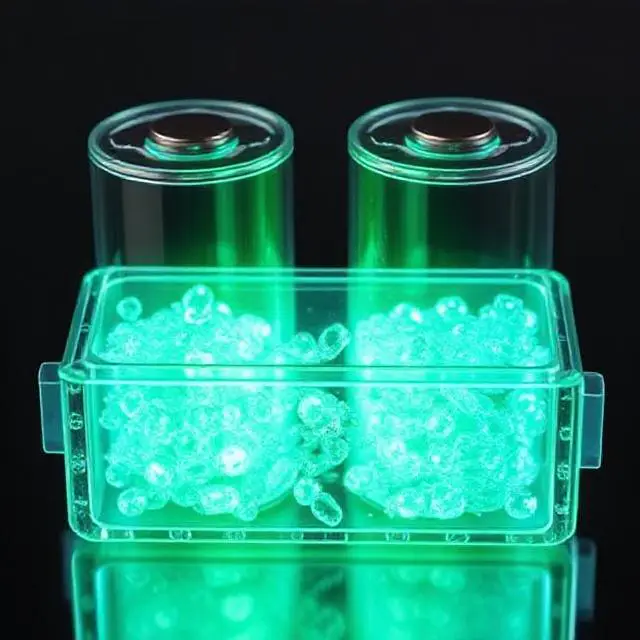
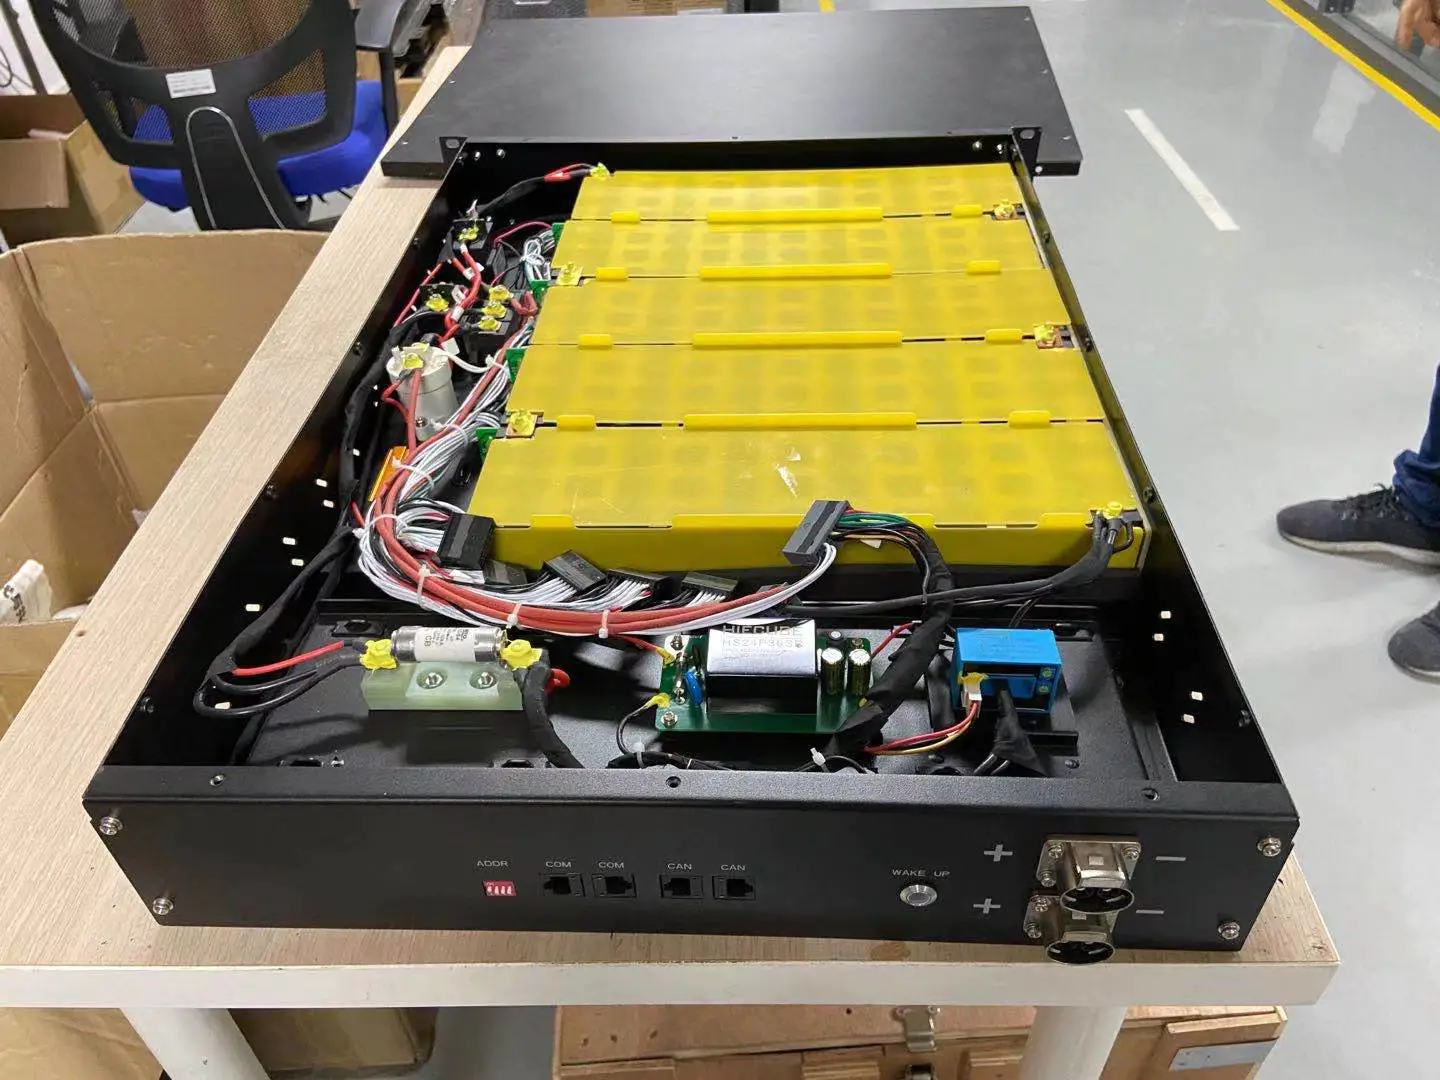
1. Before assembling the 48V lithium-ion battery pack, calculate the product according to the product size and the required load capacity, etc., and then calculate the capacity of the lithium-ion battery pack to be assembled according to the required capacity of the product, and then calculate according to the calculation As a result, choose a lithium-ion battery. 2. The container for fixing the lithium-ion battery should also be prepared to prevent changes in the moving process after the lithium-ion battery pack is placed. Connect the materials separated by the lithium-ion batteries in series. In order to achieve a better fixing effect, connect every two lithium-ion batteries together, such as silicone rubber. 3. First arrange the lithium-ion batteries neatly, and then fix each string of lithium-ion batteries with materials. After each string of lithium-ion batteries is installed, it is best to separate each string of lithium-ion batteries with insulating materials such as barley paper, because damage to the outer skin of the lithium-ion battery will cause subsequent short circuits. 4. After arranging and fixing, you can use nickel tape to complete the important series steps. When the series steps of the lithium-ion battery pack are completed, the following processing is over. Tie the battery pack with tape, and seal the positive and negative poles with barley paper first to avoid short circuits caused by subsequent operation errors. Detailed tutorial of lithium iron phosphate 48V battery components. The first step: select the appropriate cell, cell type, voltage, internal resistance need to match, please balance the cell before assembly. Cut electrodes and punch holes. Step 2: According to the aperture size, calculate the distance and cut the insulating board. Step 3: Install the screws, please use flange nuts to prevent the nut from falling off, and connect the screws to fix the lithium-ion battery. Step 4: Connect and solder the circuit, and when connecting the voltage collection line (equalization line), the protection board must not be connected externally to avoid accidental burnout of the protection board. Step 5: Fix the insulating silica gel again, and this silica gel will solidify after a long time. Step 6: If you forget to balance the cells before discharging the protection board, this is the last chance before the lithium-ion battery is assembled, and you can balance it through the balance line. Step 7: Fix the entire battery pack together with a heat insulation board and wrap it with nylon tape, which is more durable. Step 8: When packaging the battery cell as a whole, please be sure to fix the battery cell and the protection board together. Our battery cell can still work normally when measured at a height of 1 meter. Step 9: Fix the entire lithium-ion battery together with an insulating board, and wrap it with nylon tape, which is more durable. Step 10: When packaging the battery cell as a whole, please be sure to fix the battery cell and the protection board together. Our battery cell can still work normally when measured at a height of 1 meter. The eleventh step: the output is all silica gel input. All because of the iron-lithium battery, the weight is half of the same acid battery. End: After the tutorial is completed, we tested the lithium-ion battery, which can meet our requirements. Disclaimer: Some pictures and content of articles published on this site are from the Internet. If there is any infringement, please contact to delete. Previous article: What is an 18650 lithium ion battery? How does it compare with other batteries
Custom message
Related Products
![[Industry Solution] How does outdoor backup power supply cope with extreme climate? Practical analysis of lithium solar cells](https://img80003422.weyesimg.com/uploads/vglorylibattery.com/images/17502322689034.jpg?imageView2/2/w/1920/q/70/format/webp)